
Scene Props
How to Spawn a Prop Using a Scene button
The Runtime Loader component will generate any props located in Basis\Basis Server\BasisServerConsole\bin\Debug\net9.0\initialresources at runtime. It is also possible to use a button with a scene to generate props. To do so:
- Add a canvas object to your scene. Make sure to attach the relevant components similar to what was shown in the previous sections. Remember to add a Basis Prop component to generate a .bee file for your prop and upload it to a remote server.
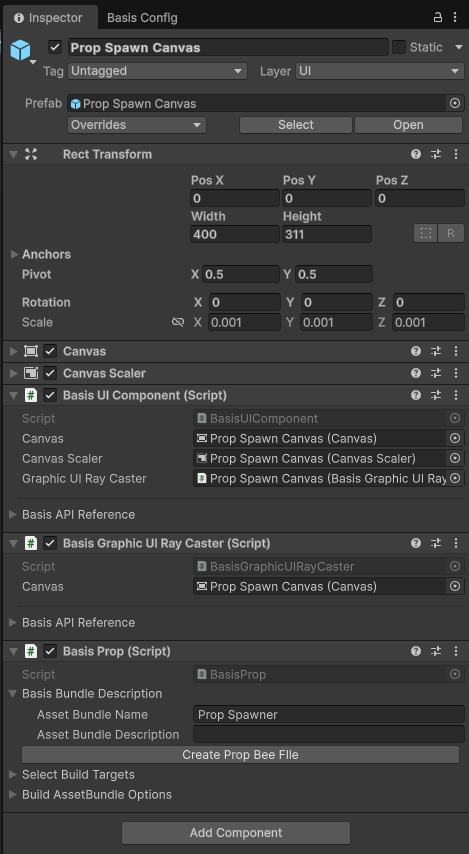
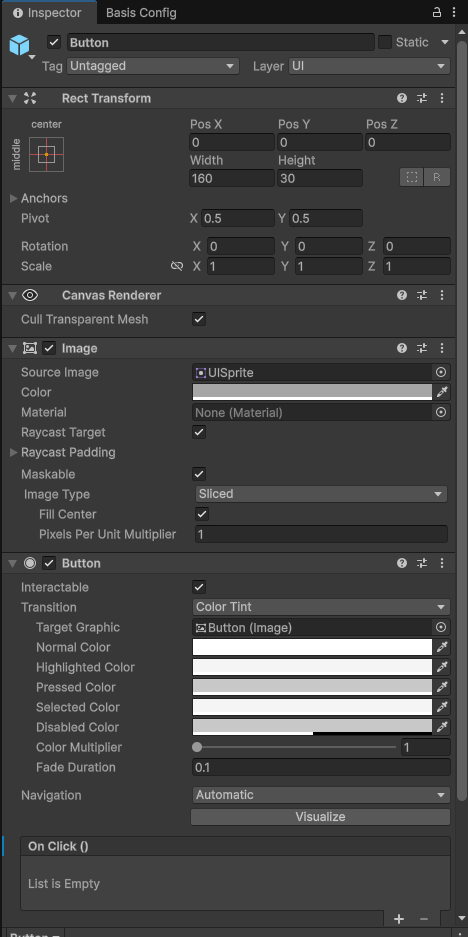
- Create a TMP button.
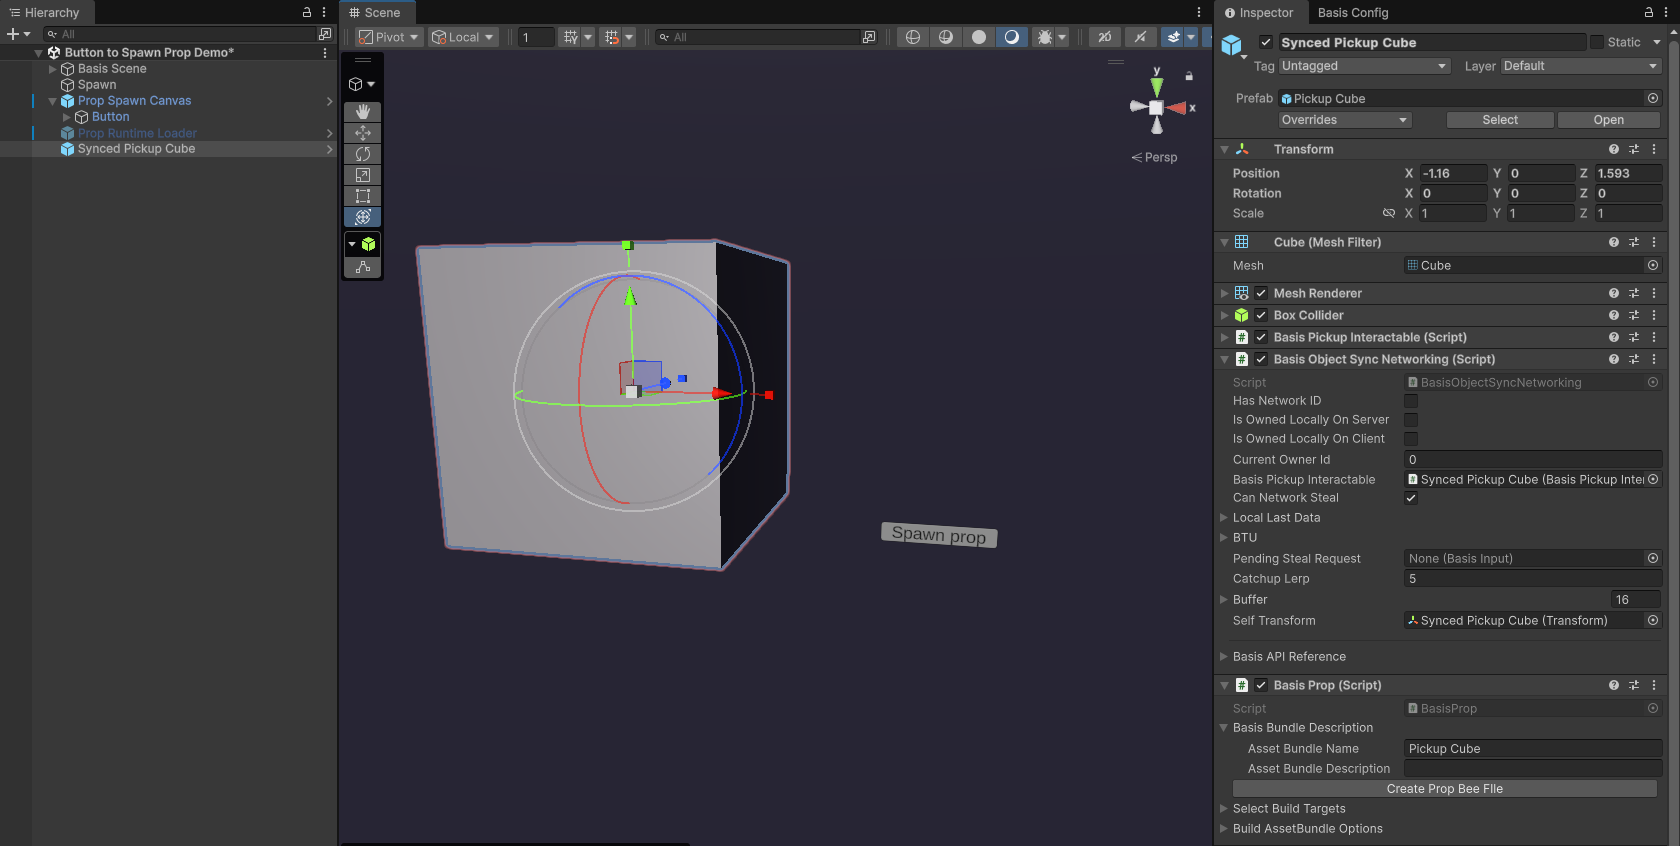
- Add a Basis Prop component, enter an Asset Bundle Name and press the 'Create Prop Bee File' button. The generated .bee files will be used by the Basis Runtime Loader to load the prop into a scene. For this example, we will use the network synced cube from the previous section again.
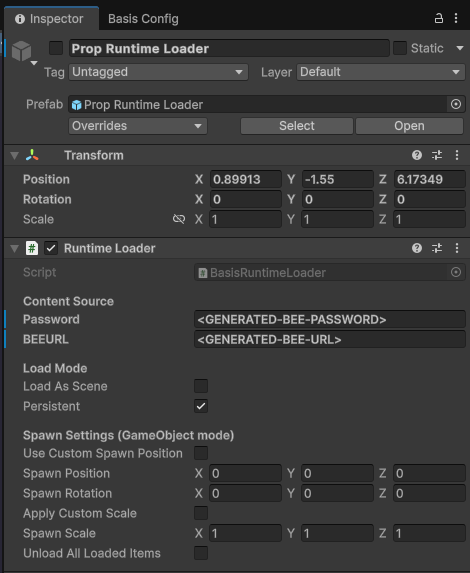
- Create an empty Gameobject and attach a Runtime Loader component to it. This will be used to spawn the prop. To avoid props being generated on scene start up, disable the component in the inspector.
If you want your prop to be network synced, add a networking syncing component to it. For instance, you can use the Basis Object Network Syncing component, as shown previously, to synchronise prop movement.
You can also create your own network syncing code. For inspiration and to help you get started, you can refer to example packages Basis Ported Pooltable and Basis Vehicles which you can find inside the project.
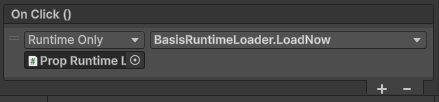
- Select your button and add an onClick() event to it. Assign your Runtime Loader Gameobject, making sure to select BasisRuntimeLoader.LoadNow as the method which your button will call on when clicked.
-
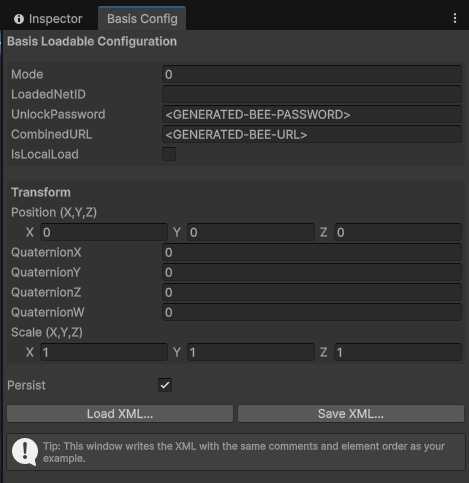
Open up the Load Config editor.
-
Enter your generated prop password and .bee url.
-
Ensure Persistent is selected so that synced changes persist for late-joining players.
-
Click Save XML.
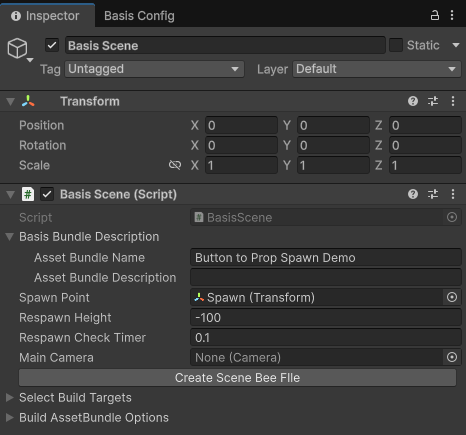
- If you haven't already, create an empty Gamebject and attach a Basis Scene component to it, filling in the relevant fields. Once set, click 'Create Scene Bee File'.
-
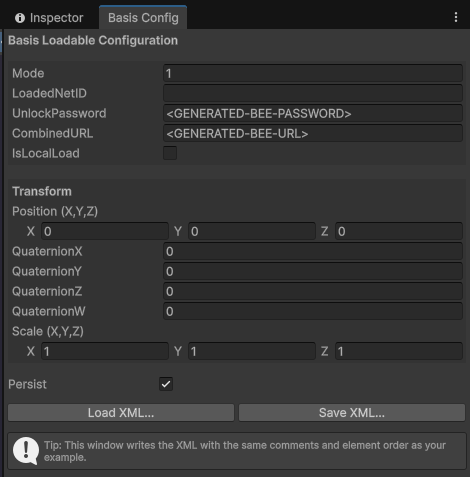
Open up the Load Config editor again.
-
Enter your generated scene password and .bee url.
-
Ensure Persistent is selected so that synced changes persist for late-joining players.
-
Click Save XML.
- Open up the 'Initialization' scene and press play. This initialises the created scene and network objects. The next time when you load the scene through the server while running the basis application, you should be able to spawn your prop via a button.
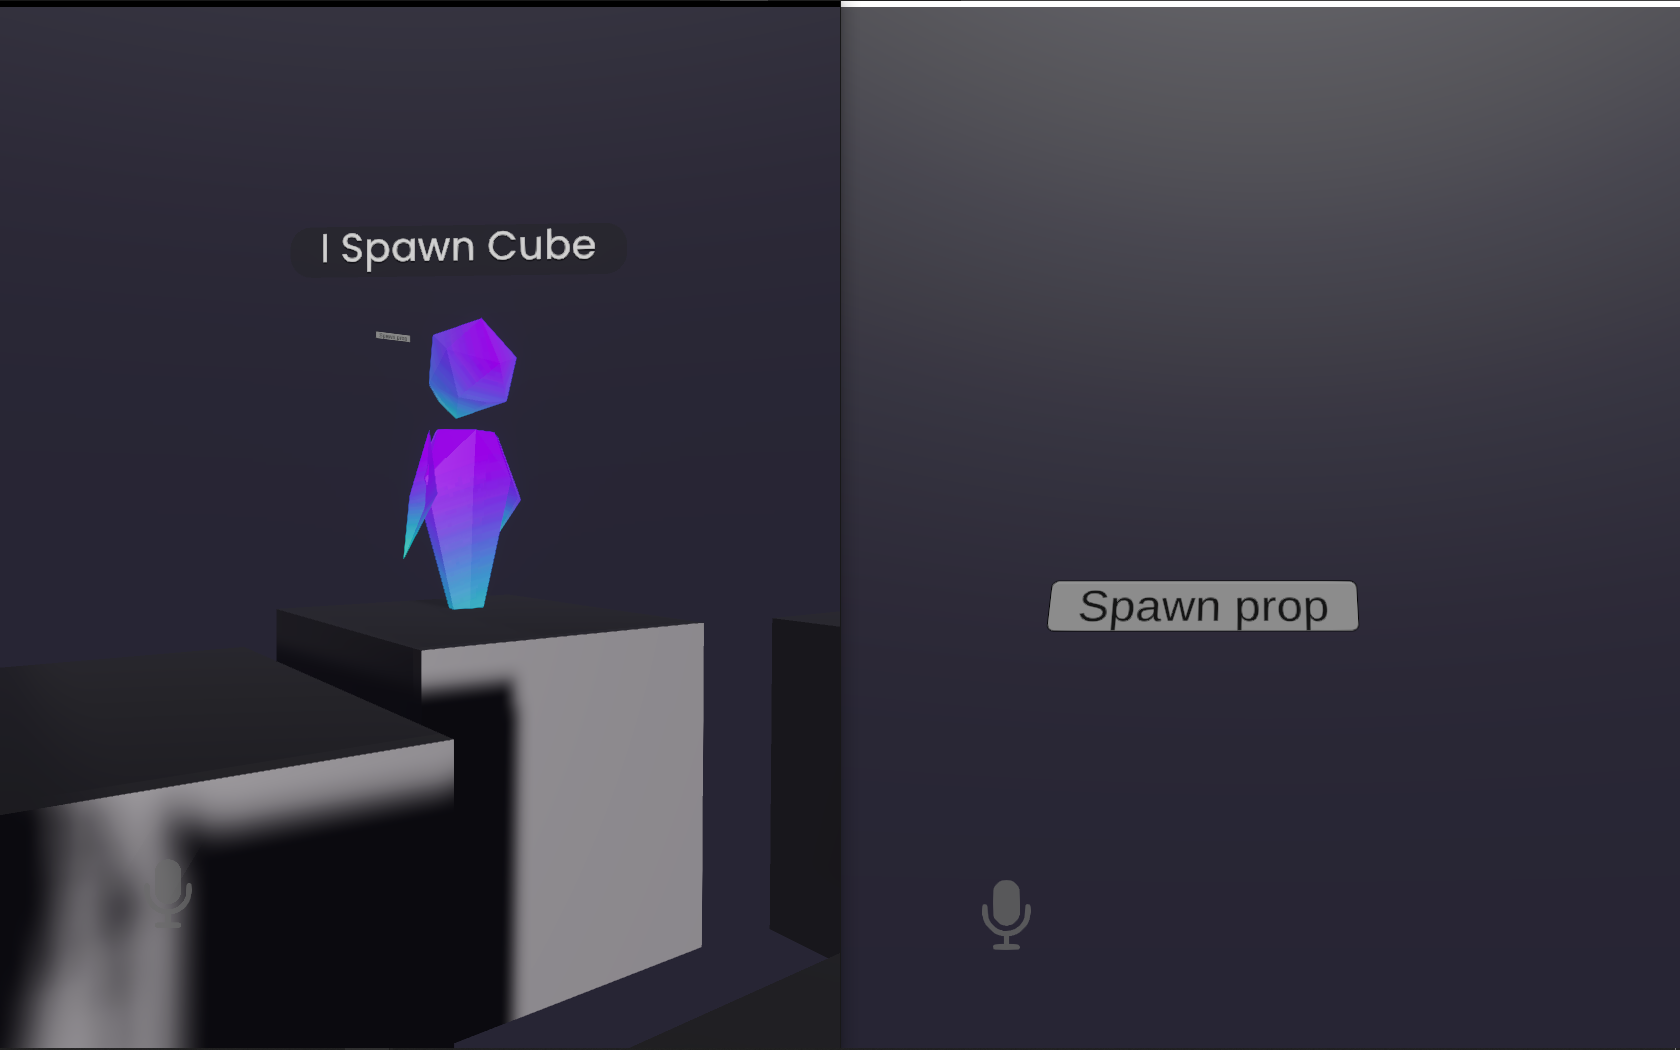
Note: Both local and remote players can spawn cubes!
Double note: You can access Basis VR via Steam as well. To get an access key, join the discord!
Last updated on